Then, if you add in post-production, there are even more tricks and ways to completely change how food and drinks look in photos. After all, it has long been known that rarely do the photos on the menu match what you actually get served.
So how is someone who perhaps doesn’t have any specific interest in photography supposed to get good results when professionals have to resort to all of these secret techniques? Even more so, how are you supposed to do that without investing in a camera or any equipment that you would maybe only use once or twice a week?
The good news is that there are plenty of ways to improve your smartphone food photography almost instantly. Even if you do everything else exactly the same way if you follow these tips your photos will automatically improve.
In this article, we will be giving you 3 tips to step up your Smartphone Food Photography game that are guaranteed to improve your photos! These don’t require a person to have a knack for photography or to have an eye for it. They are general rules of thumb that will greatly improve results!
1 – The Main Ingredient in Smartphone Food Photography Is Natural Light
This is likely to be the most important tip of all. I’d still like you to read the rest of the article to make sure you’re getting the most out of it. But if you’re short on time and need one takeaway, it’s this: use natural light as much as you can. And stay away from your smartphone’s flash. If you need to learn one thing about smartphone food photography today, let that be it!
Natural light enhances the colors and shapes of the food. Artificial light (particularly the one created by smartphone flashes) on the other hand, creates unwanted color deviations and makes your photos look absolutely flat (really, don’t shoot with the flash enabled on a smartphone, pretty much ever). So, it’s really no surprise that you should use natural light as much as you can!
This would also apply if you’re shooting with a camera and you only have the in-body flash. Professional food photographers often use artificial light, but they do so in a way that tries to emulate natural light unless it’s a creative shoot or a highly stylized shoot. And both of those areas take more time investment to yield results – that’s why they became professional food photographers.
In general, if you’re looking to improve smartphone food photography quickly, it’s better to focus on principles rather than specifics that will be dependent on multiple variables.
So here are the basics regarding light. Try to shoot near a window or a group of windows facing the same direction. That will allow the image to make the most of the natural light available, while simultaneously providing contrast coming from the unlit area. If the weather is nice, you can even take it outside!

Photos originally posted on Sun Basket
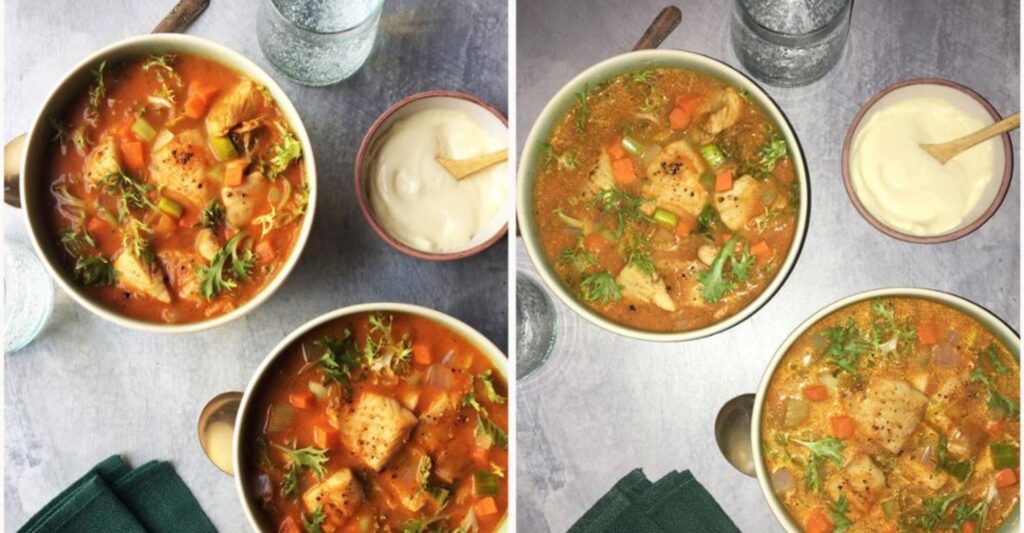
On the left, you can see a photo taken with the integrated flash. On the right, you can see the same photo taken only with natural light. You can clearly see how the photo on the left seems flat, while the photo on the right makes use of the main source of light to the right, complementing it with the lesser source of light coming from the left. That creates some contrast and a more natural feel that is pleasing to the eye.
If you need to look for a specific point to check the difference between those two photos, take a look at the mayo. On the left, it seems completely liquid and flat. On the right, you can see it has texture and it’s creamy.
2 – Give your Food Space to Breathe
Especially if you are starting to put more focus on the delicious realm of smartphone food photography, or any kind of food photography for that matter, it is a good idea to keep it as simple as possible. Layered photos with seemingly infinite elements can certainly be amazing, but they are more difficult to accomplish successfully. It’s how it usually works. The things that yield the best results if done properly are more complicated to do properly. Smartphone food photography is no different.
The whole goal of picking up your smartphone and taking a shot of your food is to show how amazing your food is. Give it space to breathe and let it shine, that’s the whole goal of smartphone food photography!
Using a fairly solid background makes it so that whoever looks at your picture focuses on the food first, with the background complementing it, instead of taking away from the food. This doesn’t mean that the background needs to be boring or completely white, but when in doubt bet on a relatively basic background.
One of my favorite backgrounds is a good clean wooden pattern. From cutting boards to tabletops, wooden backdrops really do make it hard to miss the mark. They offer just the right amount of personality while allowing for some clear separation. It’s almost like a smartphone food photography cheat!
The relatively solid background attracts all attention to the cup of coffee, allowing it to shine. Also very importantly, the fact that no part of the cup or plate is in contact with the margins makes the photo extremely versatile. It would be possible to crop it multiple different ways to make the most of the different platforms you’ll want to share your amazing products and service on!
3 – Move Around to Find the Best Angle
Different products will have different strengths. There really isn’t a one-size-fits-all solution when it comes to the best perspective to shoot food. But there are some basic concepts that you can keep in mind to inform your decision.

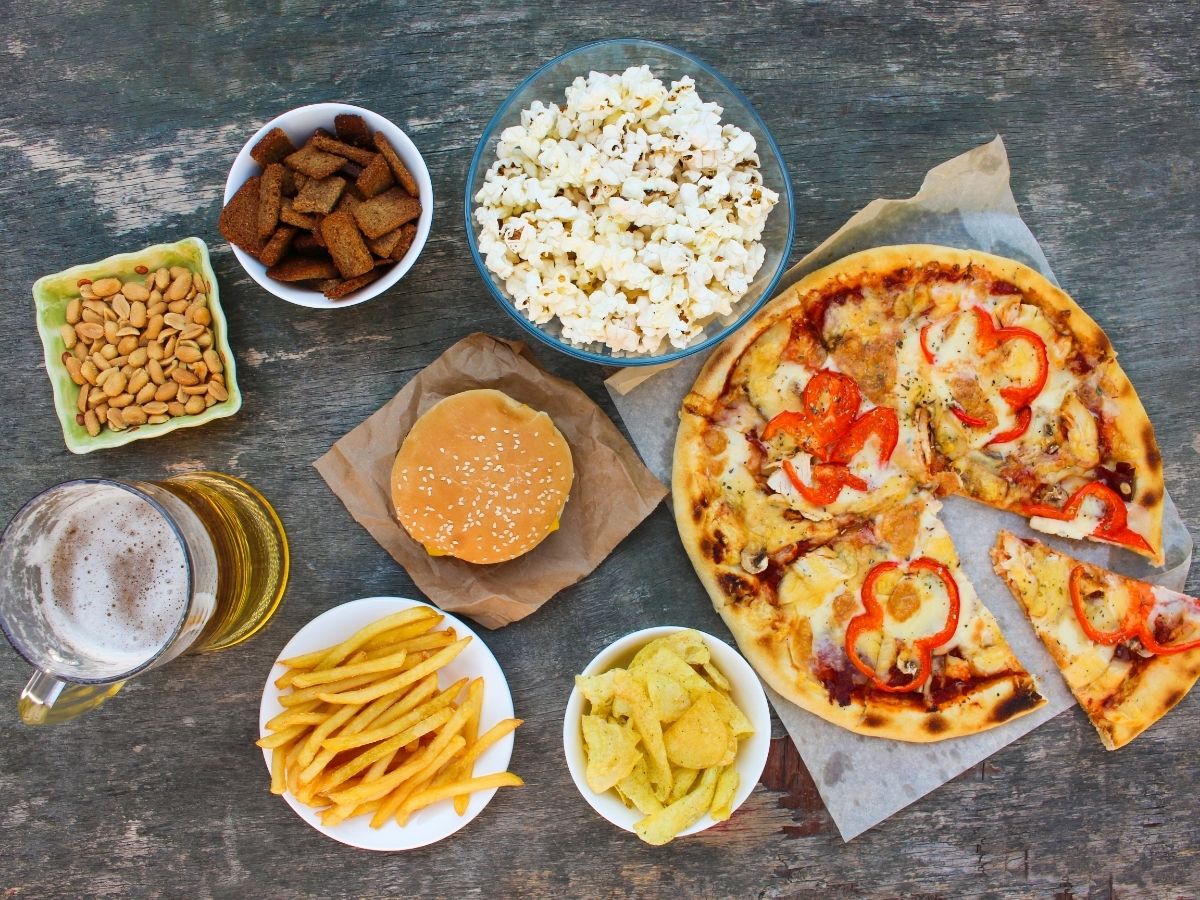
Just looking at the photo above you can get an idea of what I mean by that. And why it is such a vital part of improving the results of your smartphone food photography efforts!
The perspective is perfectly valid for the pizza. It shows as much detail and gives as much information as possible about the pizza. This is the case because since it is flat, shooting directly from above allows you to show its main selling points – apologies to our Chicago readers, as that wouldn’t necessarily be the case with a deep-dish pizza. But we’re here to talk about smartphone food photography and not about what does and does not constitute pizza.
For the burger, on the other hand, isn’t as flattering. Since it is a layered product, shooting it directly from the top makes it look flat and doesn’t really share a lot of information. What are the layers, and how tall is it?
All your products will have different strengths and it’s important that you have them on full display. And there’s no one better than you to know what they are and aren’t.
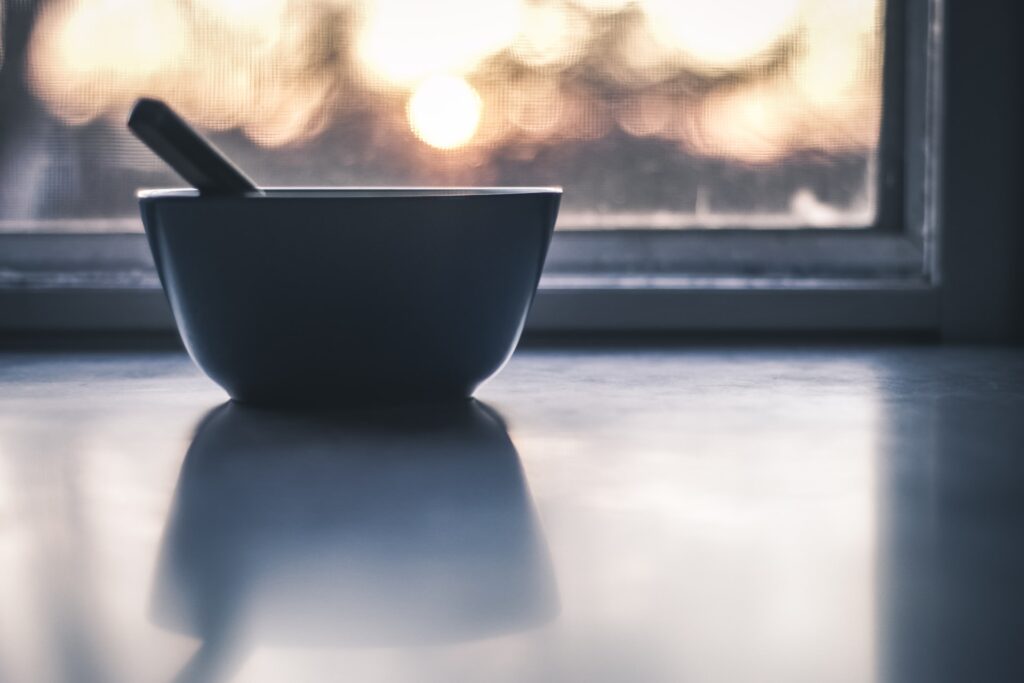
Another good example of this can be related to soup. Considering that more often than not soup isn’t served in a bowl that is transparent, shooting it directly head-on won’t really share that much information.

Take the photo above as an example. If I told you that it was not filled to the brim, would you be able to even tell for sure if there is any soup there? I’d guess not, because if someone was stingy with portions you wouldn’t see the top of the food. This is one of the cases where, generally, it would be much better to shoot it directly from above.
Now, consider a hypothetical where a business is well known for providing huge portions of soup. Think of that bowl, filled with soup, showing at the top. If you were to shoot one of their bowls of soup directly from above, you would be flattening the image and people will not know that the portioning is great and that it is a selling point.
So don’t be afraid to move around and experiment with multiple angles to find the best angle that shows all your amazing products have to offer! While these smartphone food photography rules help, there is always some room to experiment with photography!
Do More With Your Online Presence
Establishing the habit of regularly photographing your food, drinks, and space (or tasking staff members to do so) allows you to have a bigger pool of content to pick from. That means that you’ll be able to add more images to your website and stay more relevant on social media.
Vamos falar if you need any help!
